Farro Salad with Green Beans, Corn, and Cherry Tomatoes

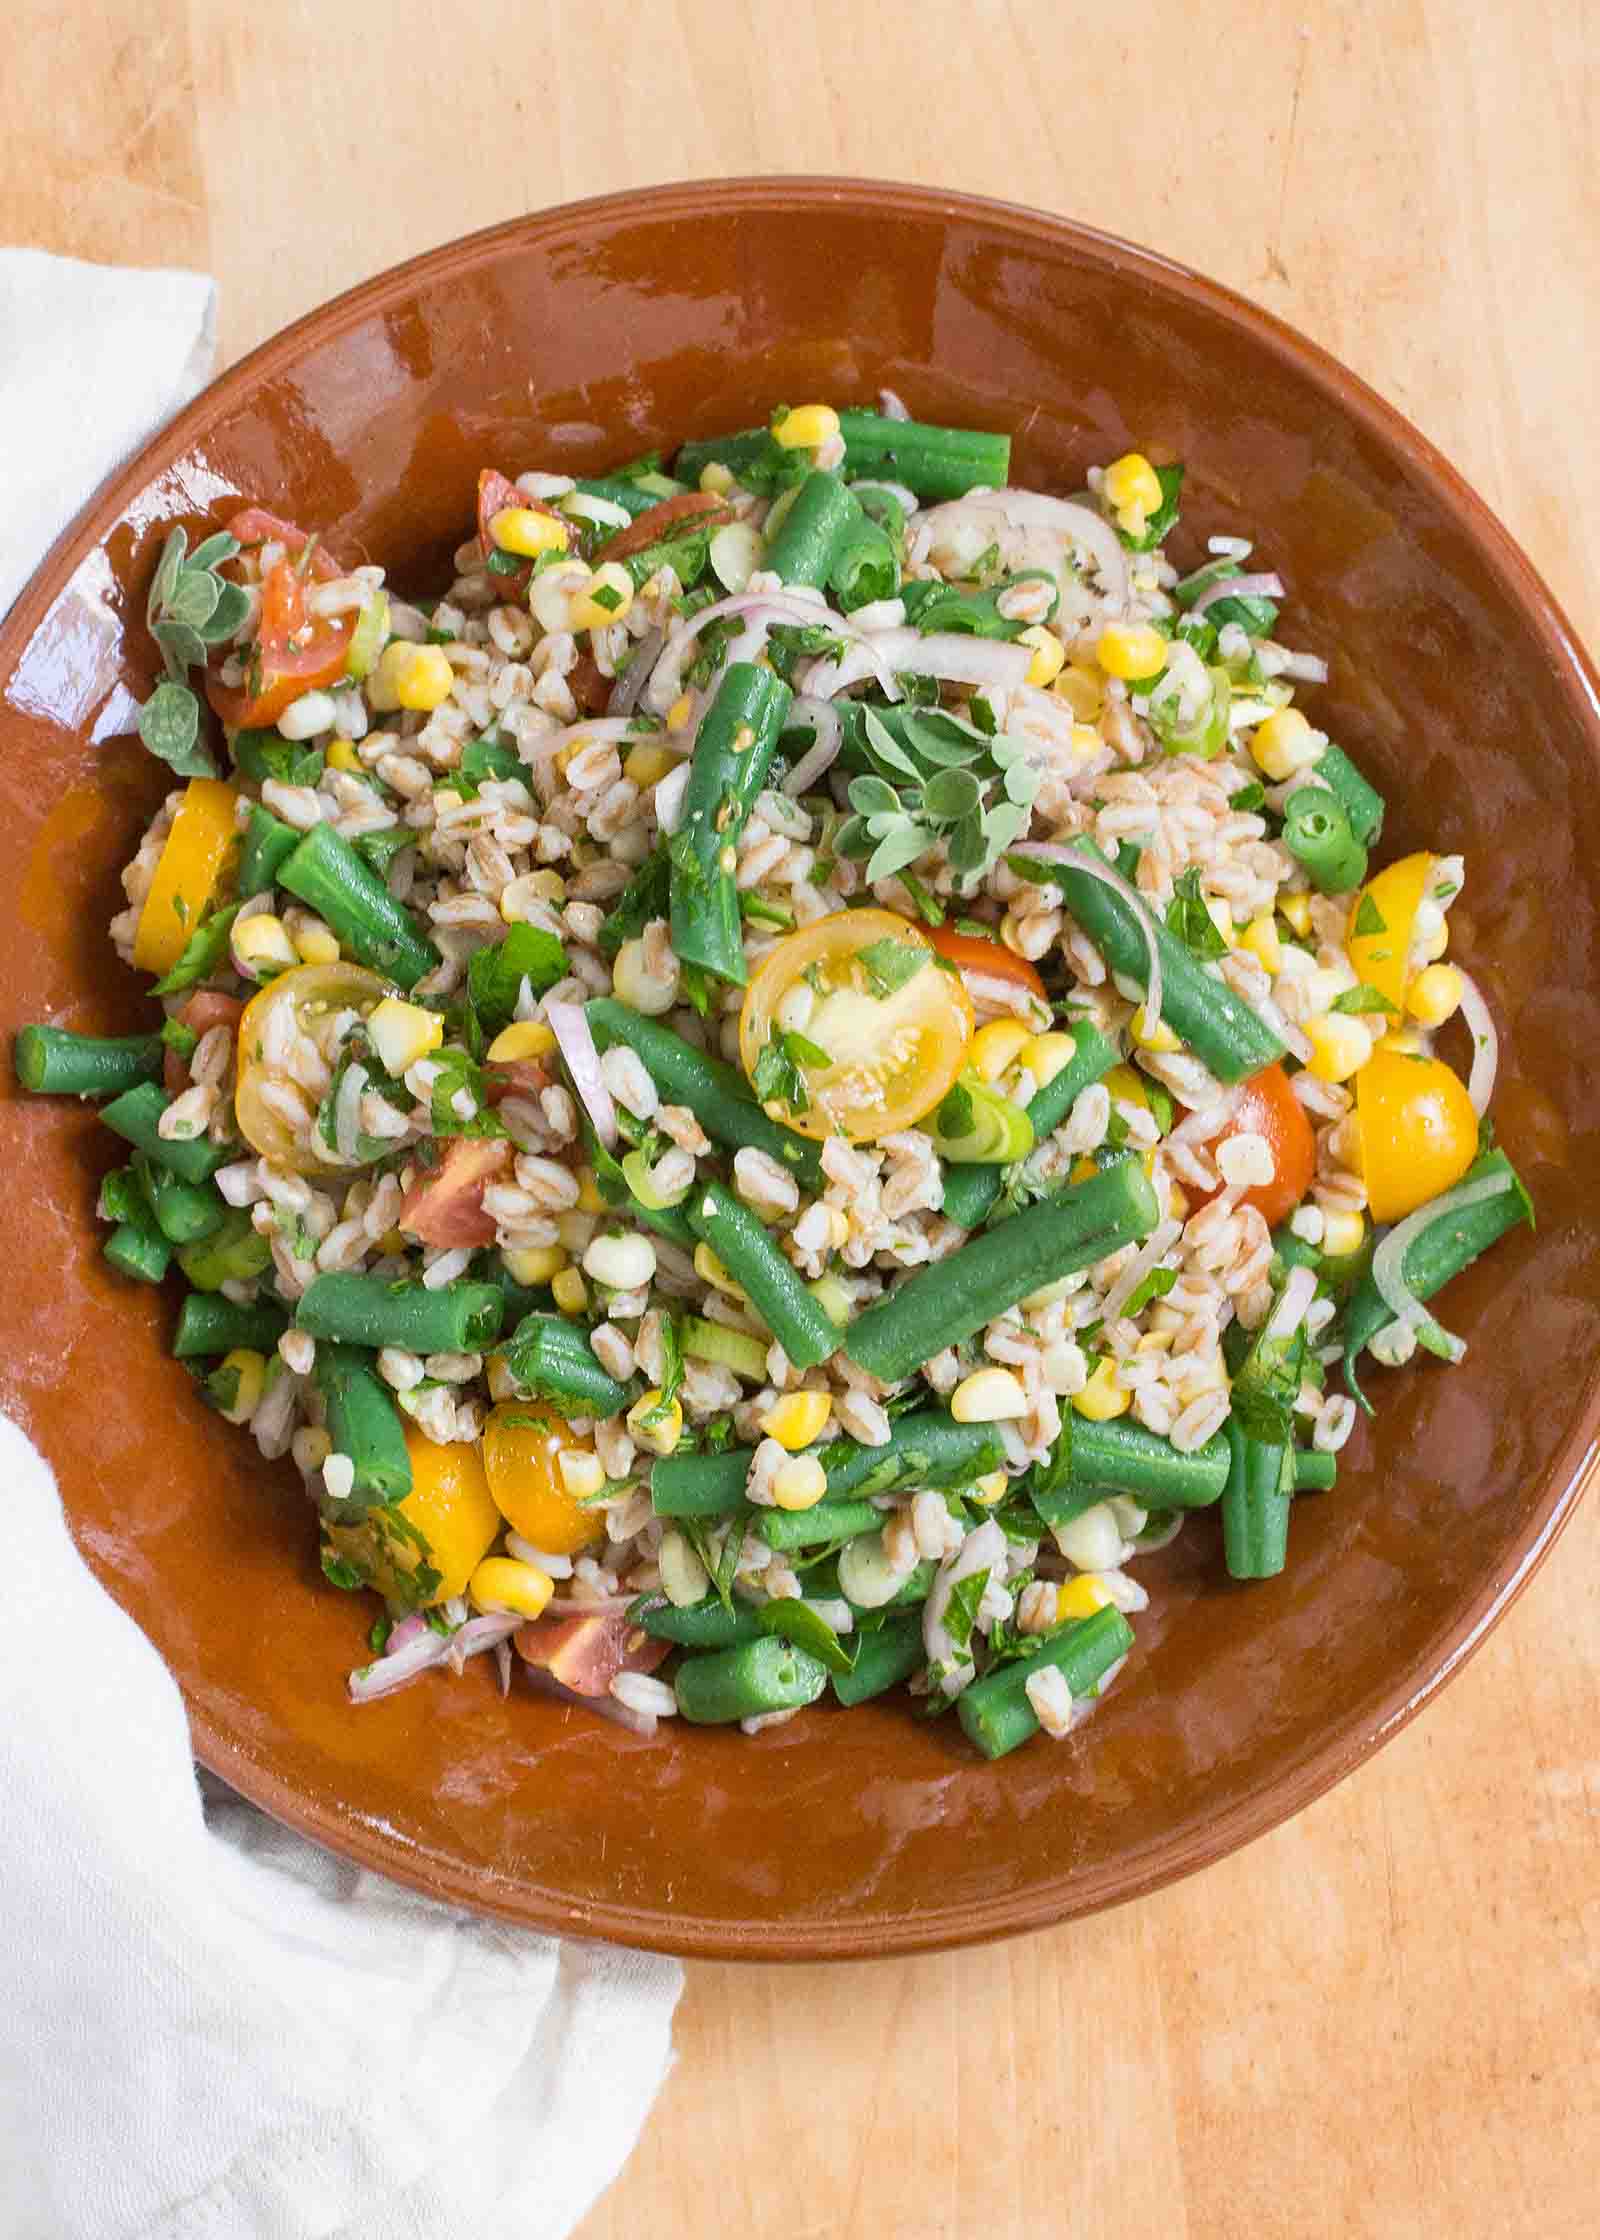
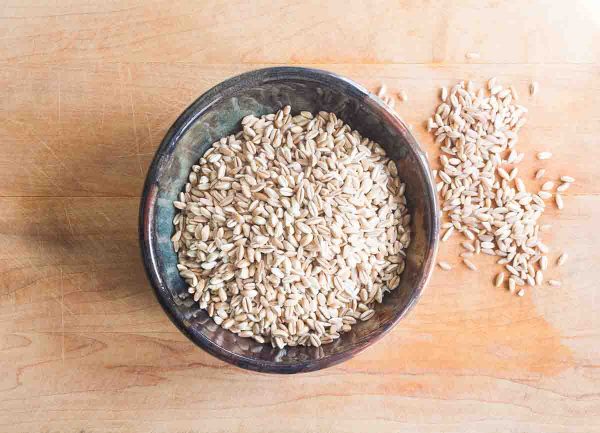
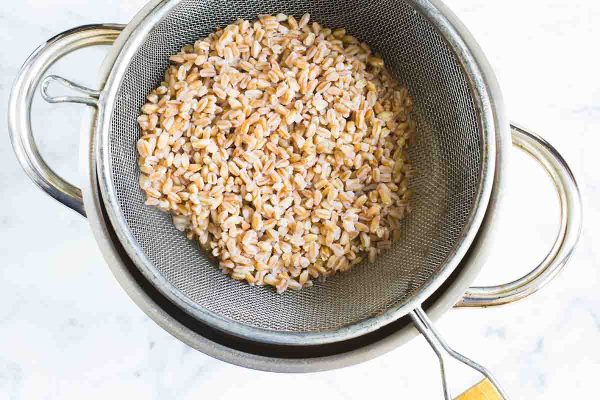
Have you ever cooked with farro before? This wheat grain is chewy, nutty, and filling. It’s also not much harder to prepare than brown rice. Mix cooked farro with some vegetables, as we’ve done here, and you have an easy side dish for dinner or even a light lunch for the week! Just add some chicken or a poached egg for a complete meal. This wheat grain has been a staple since Roman times, and it’s just fun to take something ancient and prepare it for the modern table. When you’re shopping for farro, look for “pearled” or “semi-pearled” on the label, which means the hull has been removed. Without the hull, the grain cooks quickly and doesn’t require overnight soaking, like some other ancient grains. Also, don’t get farro confused with spelt or think that one can be substituted for the other. The names are sometimes used interchangeably, which doesn’t help with the confusion, but they are actually two different grains. Spelt can take a long time to cook, but farro will cook quickly in boiling water. If your “farro” seems to be taking forever to cook, you probably got spelt by mistake! The best way to cook farro is with the “pasta method” – cook the grain in plenty of boiling, salted water for about 10 minutes, until tender, then drain off the extra water. After simmering the farro in plenty of water, drain it, and use the technique that Persian cooks do for their rice dishes: Tip the farro into a strainer and return the strainer to the cooking pot. Cover the strainer with a clean towel and the pot lid and let the farro steam in the heat for 10 minutes. This helps prevent gummy, mushy grains. Season the farro with olive oil, then add fresh corn cut off the cob and blanched, red and yellow cherry tomatoes, crisp blanched green beans, scallions, shallot, and fresh herbs. With this colorful salad, ancient grains look right at home in the modern world!
If you need to save some time, cook the farro in a separate pot while you are blanching the green beans and corn kernels.
1 Blanch the green beans: Bring a medium pot of water to a boil. Add a tablespoon of salt and the green beans.
Cook the green beans for 3 minutes or until they are bright green and barely tender. Scoop the beans out with a slotted spoon and transfer to a strainer.
Rinse the beans under cold water until they are cool. Pat dry with paper towels and set aside.
Do not drain the water; let it come back to a boil over high heat.
2 Prepare the corn: If using fresh corn kernels, let the pot of water used for the green beans come back to a boil, then blanch the kernels for 1 minute. Drain and rinse with cold water until cool.
If using frozen corn, there's no need to blanch; transfer the frozen kernels to a strainer and run under water until the corn is thawed. Spread on a plate, pat dry with paper towels, and set aside.
Do not drain the water; let it come back to a boil over high heat.
2 Toast the farro: Toast the farro in a dry cast iron or other heavy skillet, stirring constantly, for 5 minutes or until it smells nutty and toasted.

3 Cook the farro: Tip the farro into the boiling water – the grains should sizzle when they hit the water. Let the water return to a boil.
Cook the farro, stirring occasionally, for 12 minutes, or until it is tender but still has some bite.
2 Drain the farro: Drain the farro into a medium strainer and set the strainer back inside the saucepan. Cover the farro with a clean kitchen towel or paper towel and set the lid on top. (If you don't have a strainer that fits in your pan, follow these instructions.)
Set aside for 10 minutes to allow the grain to steam.

3 Season the farro: Transfer the grains to a large bowl. Sprinkle with 1 tablespoon of the olive oil. Taste for seasoning and add more salt, if you like, and pepper.
Cool briefly until no longer piping hot.
5 Mix the salad: Add the green beans, corn, scallions, shallot, cherry tomatoes, remaining 2 tablespoons olive oil, vinegar, and fresh herbs to the farro. Toss gently.
Taste for seasoning and add more salt, olive oil, vinegar, or herbs, if you like. This salad is best the day it's made, but leftovers make a great light lunch.
