
Chicken Milanese
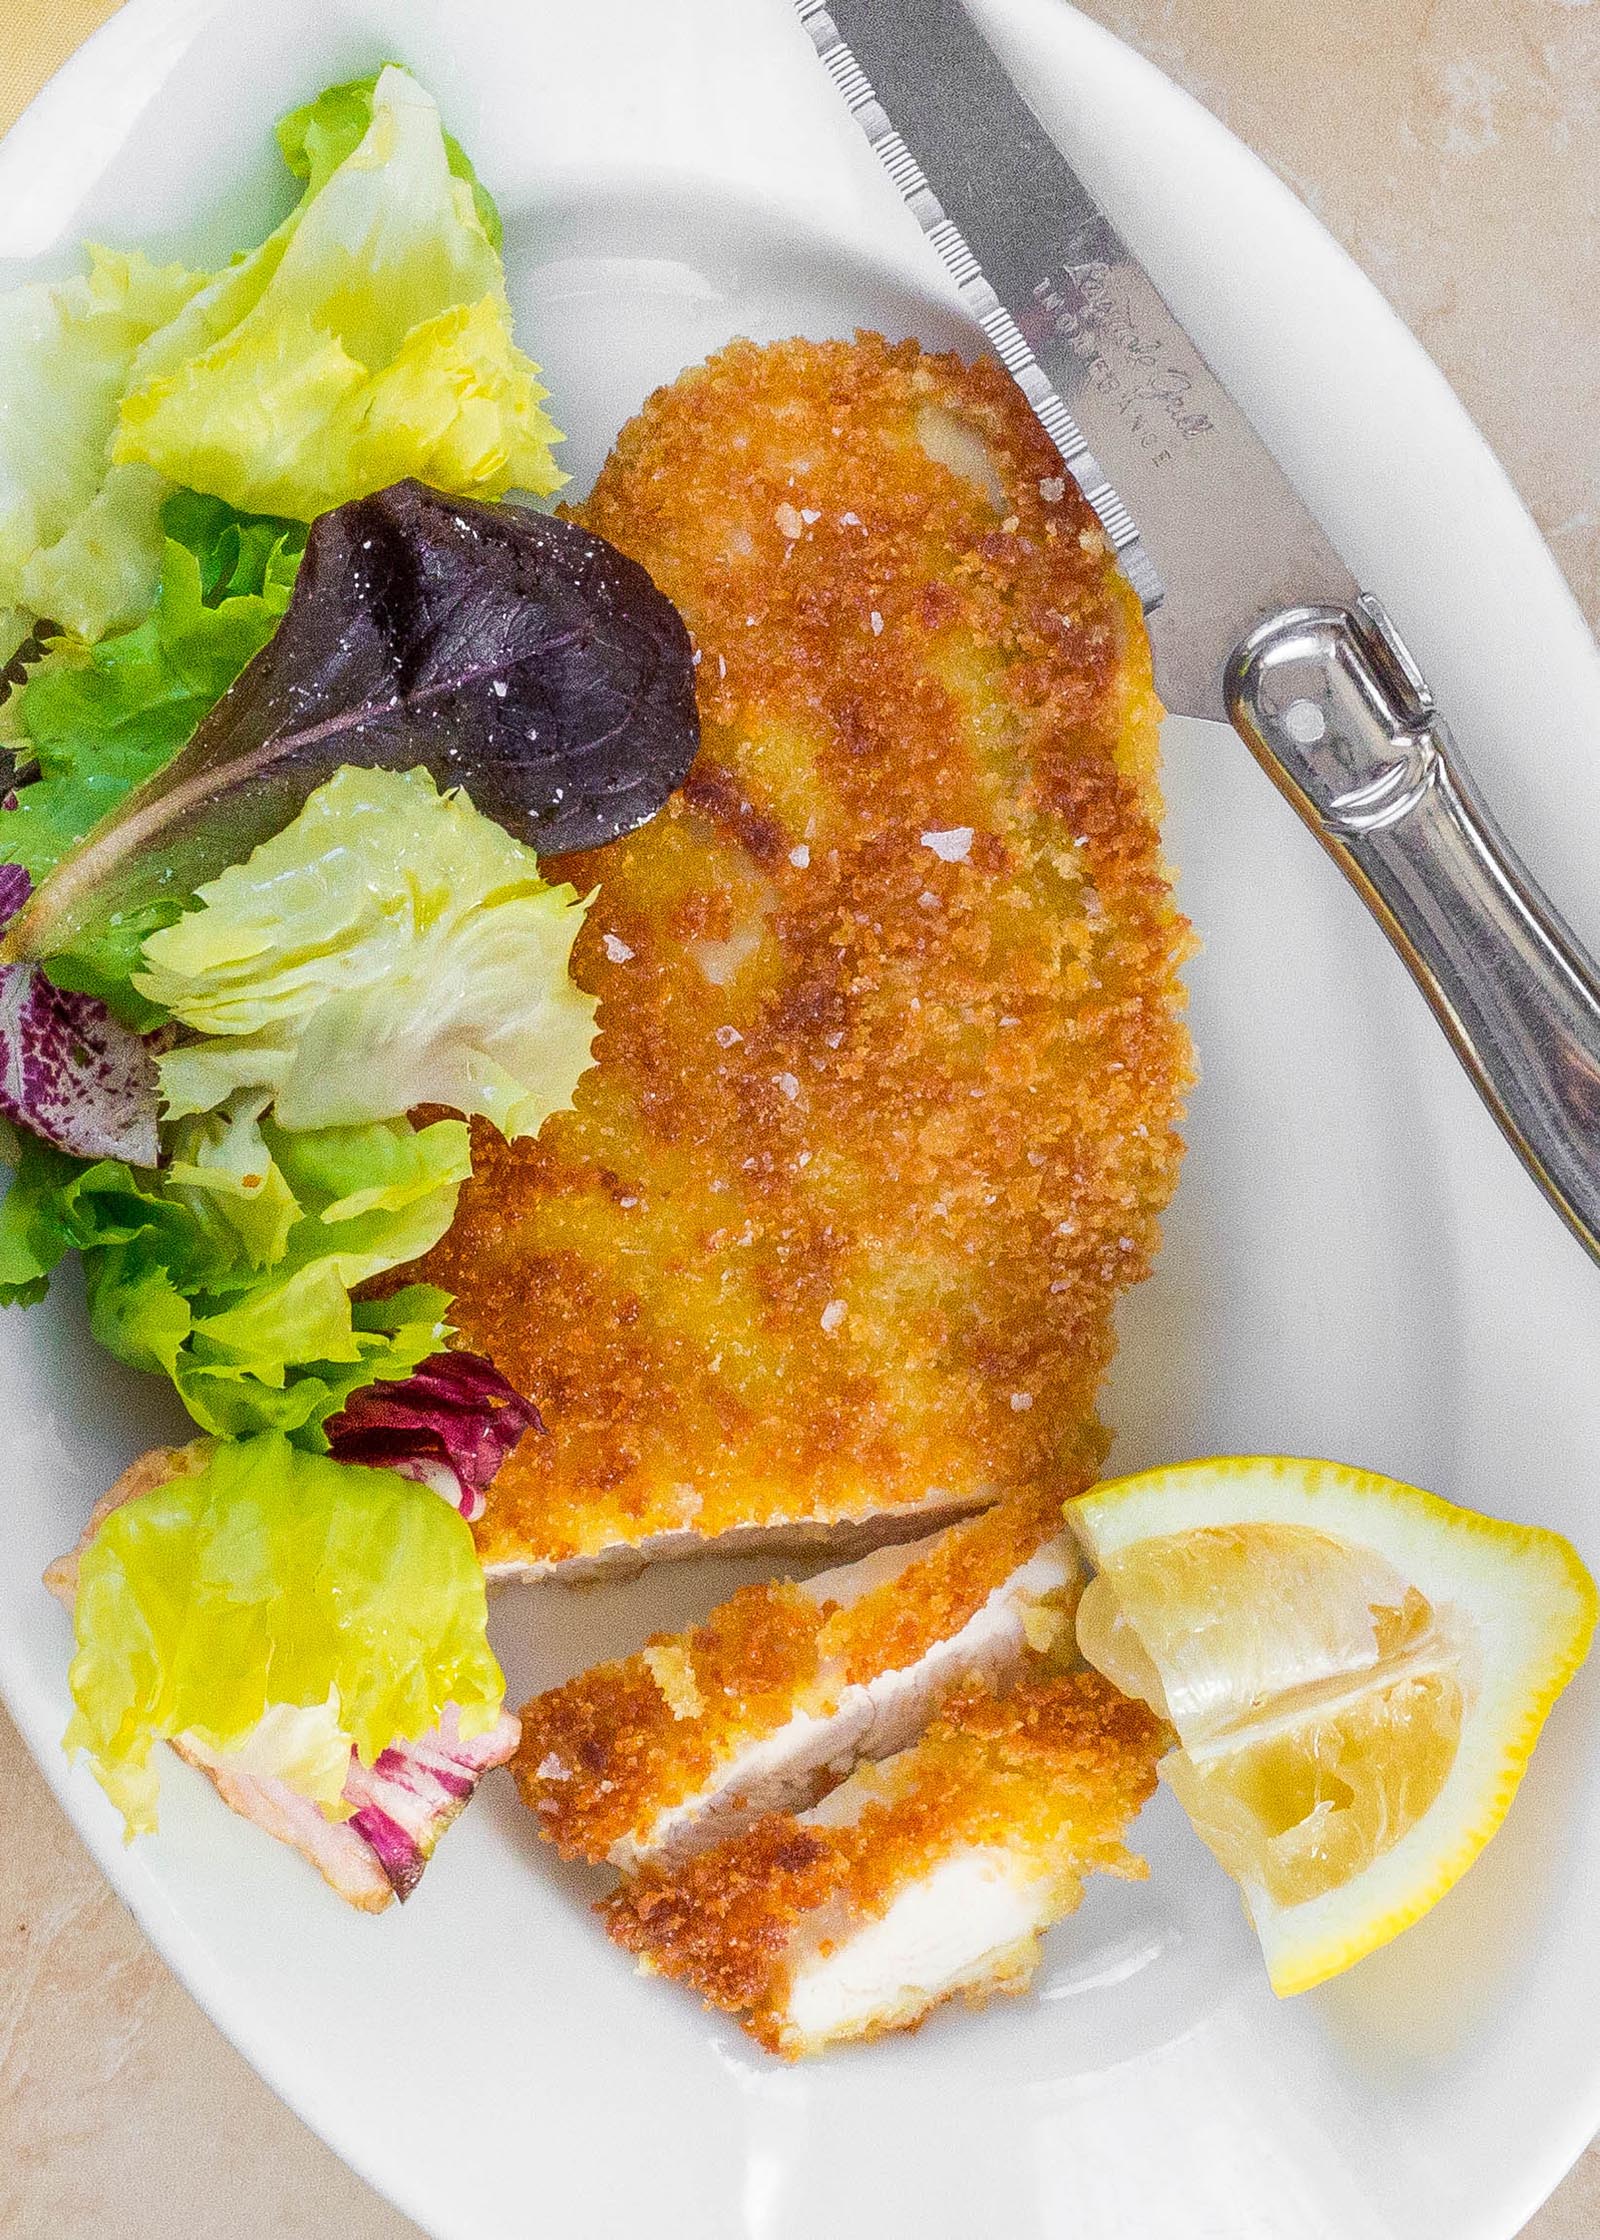
It’s hard to believe that five basic ingredients can produce such pleasing results. Milanese — a crusty crumb coating on chicken cutlets — is one of the simplest Italian preparations and it wows guests every time. The term Milanese, from Milan, originally applied to veal, which has fallen out of popularity and few markets in this country carry now. These days, the dish typically features boneless skinless chicken breasts, pounded to an even thickness. Besides tenderizing the chicken and helping it cook more quickly and evenly, pounding lessens the shrinkage. You know how when you put chicken into a hot skillet, it suddenly tightens up? When they’re pounded, that tends not to happen as much. The chicken breasts should be about a half-inch thick before pounding. Most chicken breasts will be about twice this thick when you get them, but it’s easy to cut them into thinner pieces. Hold a sharp knife parallel to the cutting board and cut the breast into two thinner slices, like opening a book. Once you have your half-inch thick pieces, place them between two pieces of plastic wrap and pound with a mallet or skillet to make them even thinner. You’re aiming for about 1/4-inch thick. When you’re ready to cook the chicken, set up an assembly line with bowls of flour, beaten egg, and Panko crumbs. Dip the chicken slices in each bowl, in order, then pan-fry in olive oil until golden and crispy. Chicken Milanese is at its best when you serve it right away, while still crispy and hot from the pan. However, the dish reheats surprisingly well if you want to cook the cutlets ahead of time. If making ahead, let the cooked chicken cool completely on a parchment-lined baking sheet, then store in the fridge. If you’re planning on reheating in a few hours, you can leave them on the baking sheet. Otherwise, layer them in an airtight container with parchment between the layers, and refrigerate for 1 to 3 days. To reheat, let the chicken cutlets sit out for half an hour to lose their chill, then warm in a 400F oven for 8 to 10 minutes or until piping hot and crispy. Sprinkle the cutlets with lemon and serve with a green salad. In the end, you won’t have done much, but you’ll have a knock-out meal any day of the week.
Look for Panko crumbs in the Asian foods section of your grocery store, though they are also sometimes near the other packaged breadcrumbs. You can also order online.
Serve with a simple tossed salad, like this Kale Caesar Salad
1 Prepare the chicken: Set aside any smaller breasts or cutlets that are 1/2-inch thick. Set larger breasts on a cutting board. Hold the top of the chicken steady with one hand and hold a sharp knife parallel to the table in the other hand, then butterfly the breast in half like opening a book (watch your fingers!). Cut all the way through to make two thin pieces.
Continue with the remaining large breasts. Pat them dry with paper towels. Set them on a rimmed baking sheet.

2 Pound the chicken: Set one of the chicken breast slices between 2 sheets of plastic wrap. Use a meat mallet or small heavy pan to pound the breast to flatten it – six or so good whacks should do it. Continue with the remaining breasts, returning them to the baking sheet.

2 Set up an assembly line for coating the chicken: In a pie pan or shallow bowl, place the flour, 1/2 teaspoon of the salt, and pepper. Stir thoroughly. In another pie pan or shallow bowl, beat the eggs with the remaining 1/2 teaspoon salt. In a third pie pan or bowl, place the Panko.
Set the pan of chicken on the counter. Set the flour next to it on the right. Set the egg to the right, then the Panko as the last thing in the row.

3 Coat the chicken: With tongs, dip one slice of chicken in flour, making sure both sides are coated and shaking the excess into the bowl. Next, coat the chicken in egg and lift it up so the excess falls back into the bowl. Finally, transfer to the Panko and coat both sides.
Return the chicken to the baking sheet. Continue with the remaining breasts until they are all coated.

3 Cook the chicken in batches: Heat the oven to 250F with a baking sheet on a middle rack. Set a heavy 12-inch skillet over medium-high heat.
Add enough of the olive to the pan to make a 1/4-inch layer (about 4 tablespoons). Heat until the oil shimmers and flows; when hot, a piece of Panko thrown in the oil should sizzle.
Add 3 pieces of chicken in a single layer and cook without moving for 4 minutes, or until the bottoms are golden. Turn and brown the other sides for another 4 minutes, or until the chicken is cooked through.

4 Keep the chicken warm: Transfer the finished chicken to the oven so they stay warm while you cook the remaining breasts. Cook the remaining breasts, adding more oil to the pan as needed to keep it coated.
5 To serve: Serve right away with lemon and a green salad.
If making ahead, let the cooked chicken cool completely on a parchment-lined baking sheet, then store in the fridge. If you're planning on reheating in a few hours, you can leave them on the baking sheet. Otherwise, layer them in an airtight container with parchment between the layers, and refrigerate for 1 to 3 days.
To reheat, let the chicken cutlets sit out for half an hour to lose their chill, then warm in a 400F oven for 8 to 10 minutes or until piping hot and crispy.